It all started about 6 weeks ago when we decided to buy a new table and chair set, paint it black, and sell our really beautiful wood table and hutch set that we bought as our wedding gift to ourselves. We were super sad to see it go but now seeing what the new paint and table set looks like in our house makes me not miss it even a little bit.
After our table was painted and the boys and I came home from vacation Jim and I were talking about how bare the wall in the dining room was going to look without the massive hutch there and what we should do about it. Then came the discussion about painting the living room, dining room and hallway. I said that if that much was being painted then he HAD to also paint the kitchen finally. And once we got that far into our discussions we realized that with the way our stairwells and walls go we would have to also paint them as well. SO, next thing we were looking at paint chips and picking just a few colors that we thought would look great in here. It's not that we didn't like the colors we had, it was just time for a change. I used to think the walls in here were quite light...I was wrong! Once the new lighter colors were going up I realized how much I was craving some lightness.
So, now for some before and after pictures. I wish that I had actually taken some good photos from before but unfortunately I wasn't that smart and kind of took pictures in bits and pieces so some of the before shots will be from over the last year.
Starting off with the kitchen! Probably my favorite part of the painting project. Here was the red that I disliked so much (which is strange because red is actually my favorite color!)
Putting on the primer! This was the picture I put on Instagram and have waited to post after pictures until everything was done and looked nice.

Another picture that shows the red...and the cute birthday boy back in May

The first testing spot of the yellow that we chose. I knew I wanted a yellow kitchen because with while cupboards and appliances and dark blue trim and countertop I figured it would be the only color that would look good in there.

More test spots. I wasn't really convinced that I would like.

I did help with the priming because you can't really screw that up too bad!


And here it is! The yellow in the daylight


And tonight in the dark with the ceiling light on. The last thing to do is fix and repaint the window sill and replace the ugly blinds in there.

We also cleared off our fridge and I love it!

I'm glad that I lost the battle of the yellows. I think the one I wanted would have been too dark in this small space!

My next favorite part of the project was convincing Jim to finally take down the ugly old vertical blinds that we had. This was another pet peeve of mine and I had actually had curtains sitting in my closet for probably 3 years and just hadn't put them up yet. I was so excited when the blinds came down and sold on Swap n Shop within an hour!

All gone and ready to get painting!

And the finished product. Jim and I both absolutely LOVE them. Not only are they really tall and make the room look way bigger, but they all block out the light and heat much better.


Here is our beautiful dining room set that we used our wedding money to purchase. It was a great table and chair set but we've always talked about how it's just too big for the space we had it in. We sold it for a ridiculously cheap price but at least it too sold quickly.

Just one piece remaining and I snapped one last photo.

All gone and the living room looked so big and it was so much easier for Jim to paint the room with so much space to work around in.

And here is the finished dining room area. I absolutely LOVE our new table and chairs. I love that we worked hard on them together to paint them and I love how much smaller the table is. Just exactly what we need for our little family. The best part is that the table has two leaves so it will be big enough for our monthly turn at cooking Sunday dinner.

The whole room looks so much bigger!

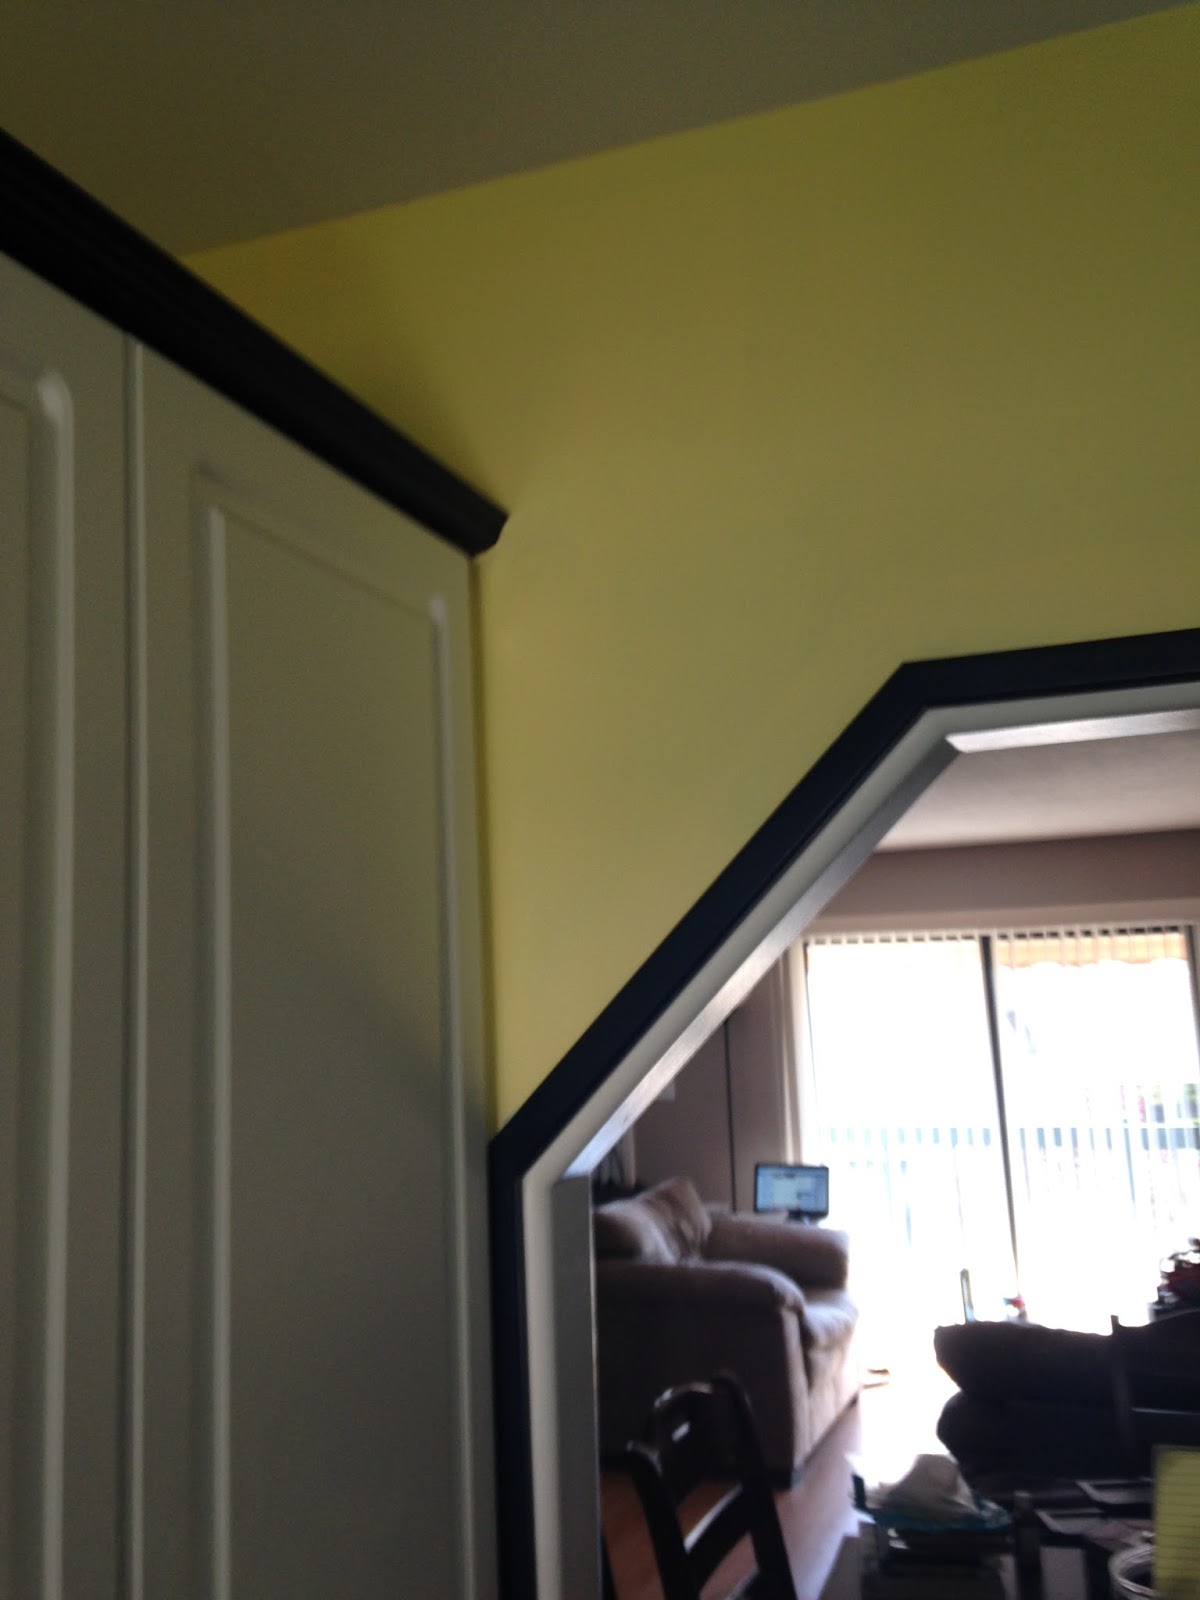
Close up of pass through wall. I wish this picture showed the two colors better. The trim on the pass through is the darker Iceberg color that is also the two living room walls. The lighter color called Pistachio was this dining room wall and the main floor hallway.

Pictures of the old wall color in the living room


From the moment the paint hit the wall I was so excited and knew we'd picked the right colors!
My very hard working hubby did at least 90% of all of the painting completely by himself. I did a little bit of primer work on the places he had patched holes, and my Dad helped paint the two story stairwell but other than that he did it all himself.


With no table to eat at the boys got to eat at their Cars table for a few days!

Living room walls done, now onto the lighter dining room wall.

Pictures of the finished living room area. I love the new Family frame beside my chair and love that we didn't bring back up nearly the amount of toys that used to live in our living room. The boys love their new shared bedroom and are more than old enough to play together down in the playroom now so we felt like we didn't need nearly the amount of stuff in the living room anymore. Hahahaha...just realized I forgot to print a picture for that frame above the TV. We had one wedding photo there with some mementos from our wedding day but the frame came down for painting and Jordan threw a plane down from upstairs and hit the frame on the stairs and broke it! Oops, will have to get that finished this weekend!
The old living room had toys all the way along in front of the curtains from the TV all the way to my chair. It was crazy how much stuff they had up here!

Here's the old hallway color, which was the same as the living room and stairwells. We did in essence do the exact same thing as the previous owner did. We picked two complementing colors and painted pretty much all of the main living areas the same two colors. I like it better that way and I love the two colors we chose!

Just looks so much brighter in there now!

A few old pictures of the upper stairwell colors


And here is the new color scheme. Pistachio (light) on the bottom half and Iceberg (dark) on the top walls, railings and molding.


Upstairs hallway has the lighter color too

Here is the view from the upstairs hallway looking down the stairwell.

And here is the stairwell going downstairs. These aren't really so much before pictures as much as they are in progress photos. James was dying to help paint so Jim let him help out on the bottom stair well. He was so excited!


Here is Jordie checking out what "B" is doing down there and really wanting to help too.

And here is the finished product.I really love how this area turned out too and happy with the non cluttered look now that the stuff that was sitting on that landing is gone (and will stay gone!.
I literally smile every time I go down these stairs now. It makes the area look so much brighter and not so cave like. Next up will be the downstairs playroom and our upstairs ensuite bathroom.

Here are the before pictures of the table that we bought! We were really lucky that my Dad let us complete the project in his garage and he was a huge help with the painting of it too. It was a fair amount of work with sanding, priming and painting the set. I'm happy with how it turned out though!


In progress photos. James loves to help out whenever we let him.


Terrible photo of us but proof that we worked together on a project...and it turned out good...and we didn't kill each other doing it either!

Only have pictures of the first coat. It is much darker than this but still not quite the black that we were hoping for. To me it still looks more gray like in this photo. But that's okay, because I have a table cloth on it that I love so you don't even see the table anyways!


This picture shows them pretty good! Overall I think we did a pretty good job with our first DIY furniture painting project!

I think that's it for my little home reno tour! Big thanks go out to my Jimmy for all of his hard work. And to my Dad for his help and to my Mom for watching the boys while I was working and Jim was painting. We couldn't have gotten the project done in just over a week without your help!